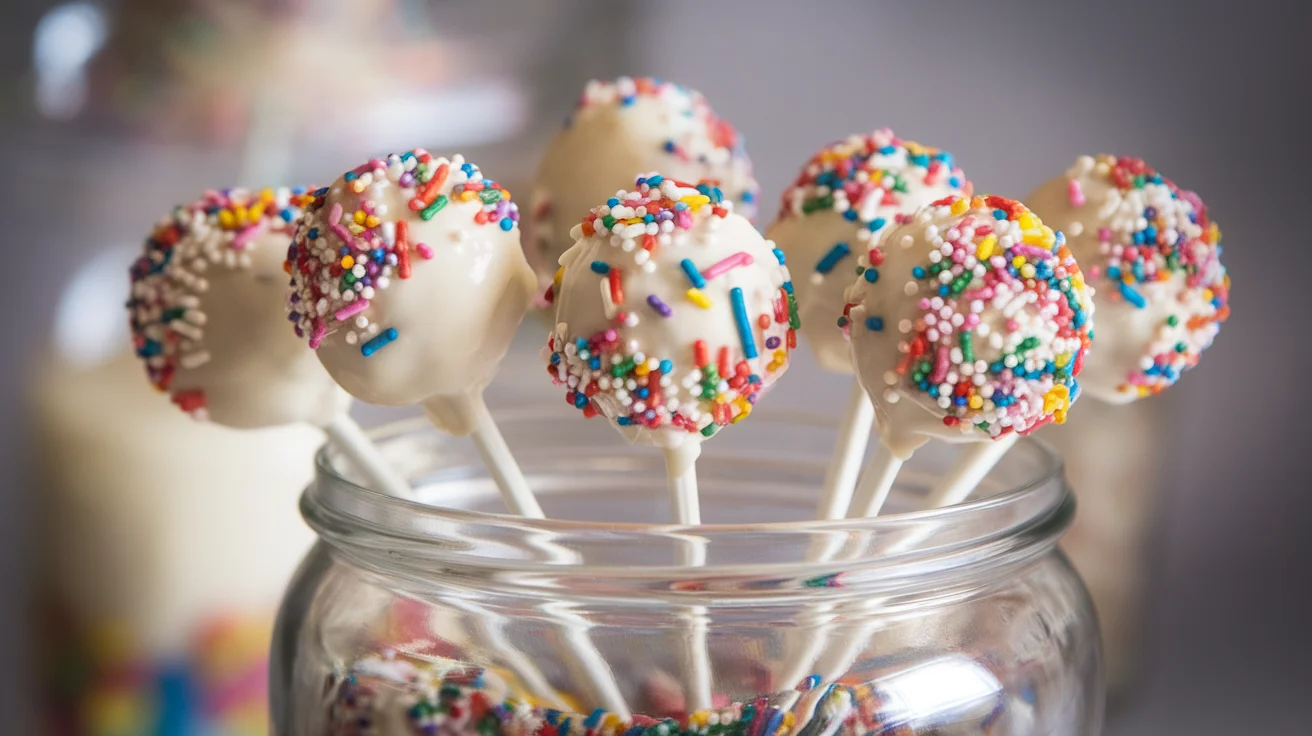
Homemade Vanilla Sprinkle Cake Pops
Let me guess—you want a dessert that looks like you spent all day baking, but actually lets you keep your dignity and your free time intact. Same.
Homemade Vanilla Sprinkle Cake Pops: tiny balls of joy on sticks that scream “I’m fancy” while quietly whispering “this was way easier than it looks.”
They’re sweet, fun, colorful, and honestly? Kinda therapeutic to make. Rolling cake into balls is cheaper than therapy, IMO.
Why This Recipe Is Awesome
First of all, cake pops are basically cake’s cooler, more photogenic cousin. They’re perfect for parties, birthdays, bake sales, or random Tuesday nights when you need serotonin.
Second, this recipe is ridiculously forgiving. Crumbled cake? Supposed to happen. Frosting everywhere? Normal. Uneven balls? Adds character. It’s basically idiot-proof—and trust me, I’ve tested that theory personally.
Third, sprinkles. Do I really need to explain why sprinkles automatically make life better? Didn’t think so.
Ingredients You’ll Need
Nothing fancy here—just pantry staples and good vibes.
- Vanilla cake (homemade or boxed mix) – No judgment. Boxed cake still slaps.
- Vanilla frosting – Store-bought works. Homemade if you’re feeling ambitious.
- White chocolate or candy melts – For coating. This is where the magic happens.
- Rainbow sprinkles – Because boring desserts are illegal.
- Cake pop sticks – Toothpicks work in emergencies, but let’s be adults.
- A little oil or shortening – Helps the chocolate melt smoothly (aka less drama).
Step-by-Step Instructions
- Bake the vanilla cake
Bake your cake according to the recipe or box instructions. Let it cool completely—and yes, completely. Warm cake turns into mushy sadness. Patience pays off here. - Crumble it like it owes you money
Once cooled, crumble the cake into fine crumbs using your hands. This is oddly satisfying, so enjoy it. No big chunks allowed—we’re aiming for sand, not gravel. - Add frosting slowly
Mix in vanilla frosting a little at a time. You want a dough-like consistency that holds together but isn’t sticky. Too much frosting = greasy cake pops, and nobody wants that. - Roll into balls
Scoop and roll the mixture into bite-sized balls. Place them on a lined tray. Don’t stress about perfection—cake pops are meant to be fun, not geometry homework. - Chill out (literally)
Pop the tray into the fridge for 30–40 minutes. This helps them firm up so they don’t fall apart later and embarrass you. - Melt the coating
Melt your white chocolate or candy melts gently, stirring often. Add a tiny bit of oil if needed to keep it smooth and pourable. Burnt chocolate = instant regret, so go slow. - Stick and dip
Dip the tip of each stick into melted chocolate, then insert it halfway into a cake ball. Let it set for a minute. This acts like edible glue—very important. - Coat and sprinkle
Dip each cake pop into the melted coating, gently tap off excess, and immediately add sprinkles. Work fast—chocolate waits for no one. - Set and admire
Let them dry upright or laid down gently. Once set, admire your work like the baking legend you are.
Nutritional Facts
| Nutrient | Per Cake Pop (Approx.) |
|---|---|
| Calories | 160 kcal |
| Carbohydrates | 22 g |
| Sugar | 14 g |
| Fat | 7 g |
| Protein | 2 g |
| Sodium | 95 mg |
Quick reality check: These are treats, not health food—and that’s okay. They’re portion-controlled, which means you can enjoy something sweet without inhaling half a cake. Plus, mentally? They’re great for happiness levels. Balance, right?
Common Mistakes to Avoid
- Skipping the chilling step – Rookie mistake. Warm cake pops will collapse like your motivation on Monday morning.
- Overloading frosting – More is not better here. Trust me.
- Overheating chocolate – Chocolate burns faster than your tongue on hot coffee.
- Waiting too long to add sprinkles – If the coating sets, the sprinkles will just… fall off. Sad.
Alternatives & Substitutions
- Chocolate cake instead of vanilla? Absolutely. Live your truth.
- Cream cheese frosting? Delicious, but use less—it’s rich.
- Dark chocolate coating? Great if you like less sweetness.
- No sticks? Make cake pop bites. Same flavor, fewer logistics.
Personally, I love vanilla because it’s a blank canvas—but hey, rebellion tastes good too.
FAQ (Frequently Asked Questions)
Can I make these ahead of time?
Yes! They keep well in the fridge for up to 5 days. Cake pops are planners’ best friends.
Do I really need candy melts?
Nope. Chocolate works fine—just temper it gently and don’t rush.
Why are my cake pops cracking?
Temperature shock. Cold cake pops + hot coating = drama. Let them warm slightly first.
Can I freeze cake pops?
Technically yes, but texture suffers. IMO, fridge > freezer.
Can kids help with this?
Absolutely—and they’ll make a mess. Worth it.
Can I use margarine instead of butter?
You can, but why hurt your soul like that?
Final Thoughts
Homemade Vanilla Sprinkle Cake Pops are proof that cute desserts don’t have to be complicated. They’re playful, customizable, and guaranteed to make people say, “Wait—you made these?”
So go on. Roll, dip, sprinkle, repeat. Impress your guests—or just yourself—because honestly, you deserve it. Now grab one before they mysteriously disappear. 🍰✨