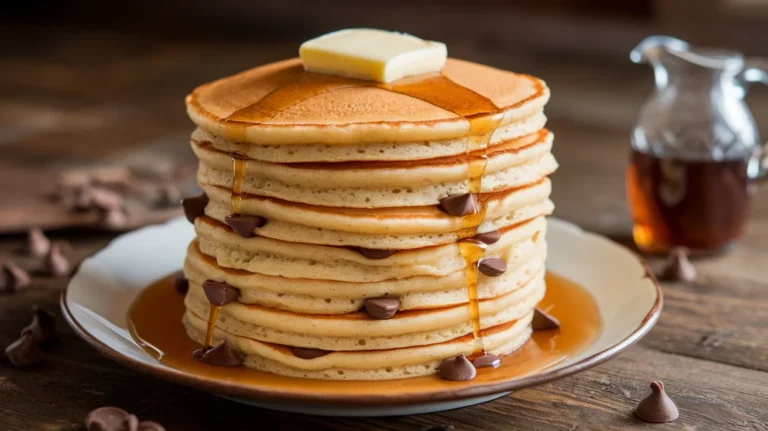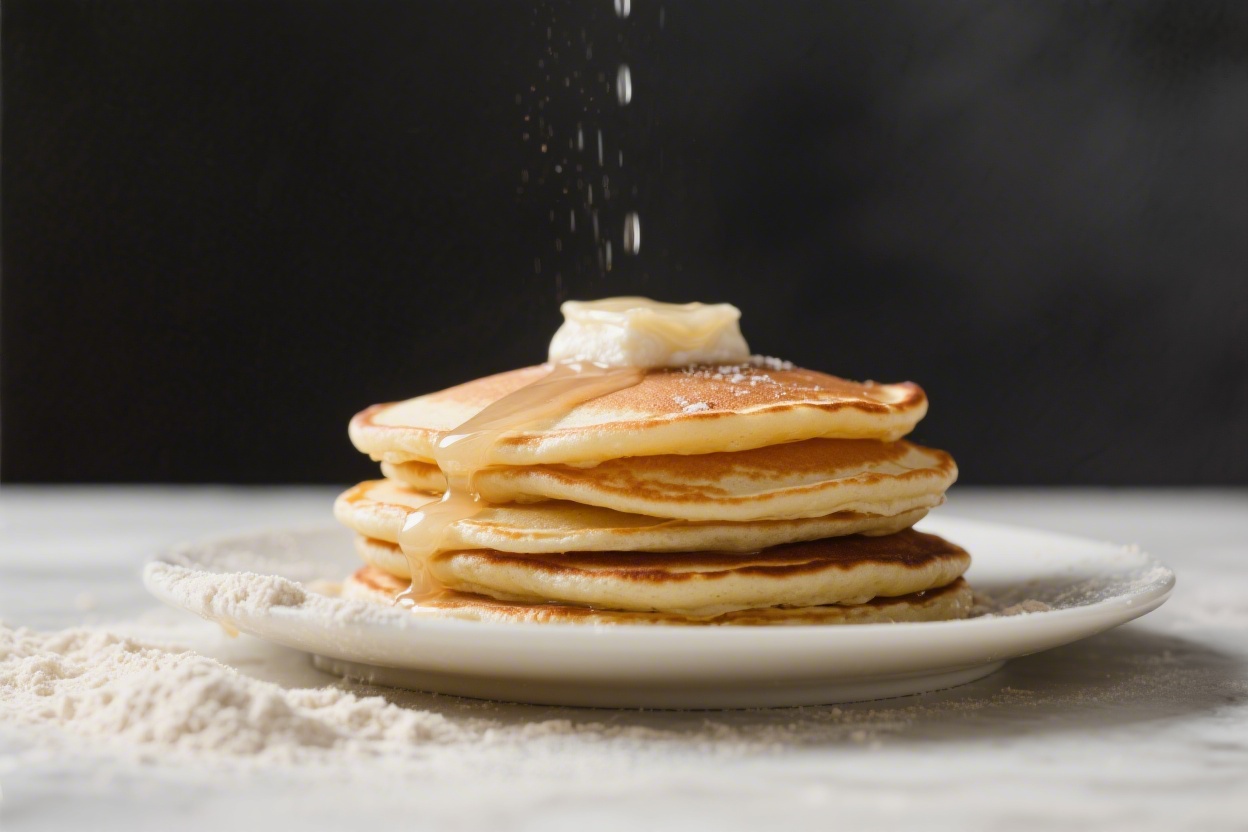
How to Make Perfect Pancakes Using Gluten Free Flour – Light, Fluffy, and Easy
If you’ve struggled with gluten-free pancakes that turn out gummy, flat, or dry, you’re not alone. The good news: with the right flour blend and a few smart tricks, you can make pancakes that are tender, fluffy, and full of flavor. This recipe is simple, reliable, and comes together with pantry basics.
Whether you’re gluten-free or cooking for someone who is, these pancakes will make your morning feel special. Let’s get you a stack that actually lives up to the weekend hype.
How to Make Perfect Pancakes Using Gluten Free Flour - Light, Fluffy, and Easy
Ingredients
- 1 1/2 cups gluten-free all-purpose flour blend (with xanthan gum included; if not, add 1/2 teaspoon xanthan gum)
- 2 tablespoons sugar (or maple sugar/coconut sugar)
- 2 teaspoons baking powder
- 1/4 teaspoon baking soda (important if using buttermilk or added acid)
- 1/2 teaspoon fine sea salt
- 1 1/4 to 1 1/2 cups milk (dairy or unsweetened almond/oat milk)
- 1 large egg (room temperature)
- 2 tablespoons melted butter (or neutral oil for dairy-free), plus more for the pan
- 1 teaspoon vanilla extract
- Optional for extra tenderness: 1 tablespoon lemon juice or apple cider vinegar (especially if using non-dairy milk)
Instructions
- Preheat your pan or griddle. Set a nonstick skillet or griddle over medium heat so it’s evenly hot when the batter is ready. Aim for about 350°F on an electric griddle.
- Mix the dry ingredients. In a large bowl, whisk together the gluten-free flour, sugar, baking powder, baking soda, and salt until well combined. This helps distribute leavening evenly.
- Combine the wet ingredients. In a separate bowl or large measuring cup, whisk the milk, egg, melted butter, and vanilla. If using lemon juice or vinegar, add it to the milk and let it sit for 2–3 minutes.
- Bring it together gently. Pour the wet mixture into the dry. Stir with a spatula until just combined. Leave small lumps—overmixing leads to dense pancakes.
- Rest the batter. Let the batter sit for 5–10 minutes. This allows the gluten-free flour to hydrate and thickens the batter slightly for fluffier pancakes.
- Adjust consistency. If the batter looks too thick (doesn’t pour off a spoon), add a splash more milk. It should be pourable but not runny.
- Grease and test the pan. Lightly butter or oil the hot surface. Test with a small spoonful of batter—if it sizzles gently and the bottom browns in about 1–2 minutes, you’re set.
- Cook the pancakes. Pour 1/4 cup batter per pancake. Cook until bubbles form on top and the edges look set, about 2–3 minutes. Flip once and cook 1–2 minutes more, until golden and cooked through.
- Keep them warm. Transfer cooked pancakes to a 200°F oven on a wire rack set over a sheet pan while you finish the batch.
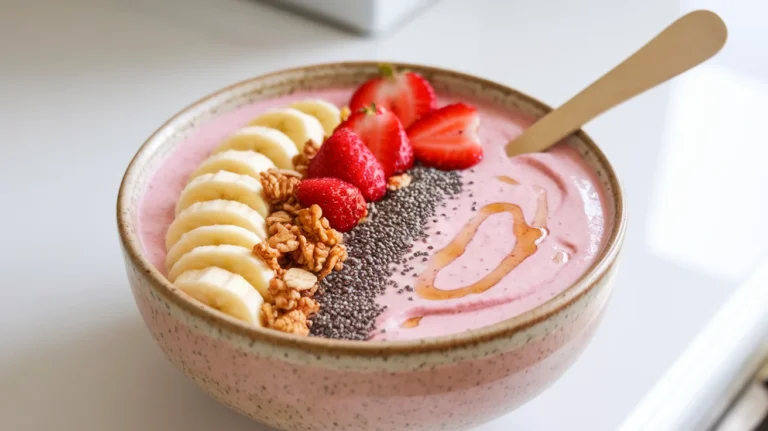
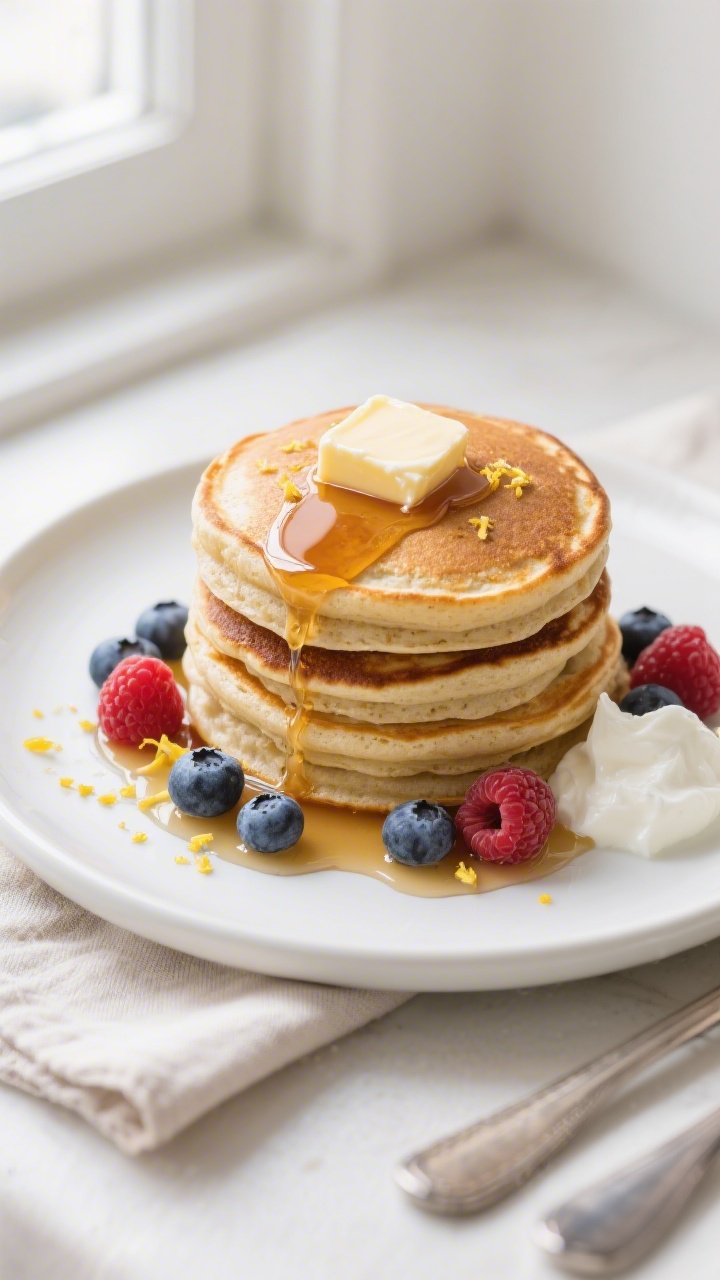
- Serve. Top with butter, warm maple syrup, fresh berries, or a dollop of yogurt.
What Makes This Special

Many gluten-free pancakes fall short because they don’t have the structure that gluten provides. This recipe balances moisture, structure, and lift so you get that classic pancake texture.
A touch of acid (from buttermilk or lemon juice) reacts with baking soda for extra fluff. Resting the batter allows the flour to hydrate, preventing grittiness. And just the right amount of sweetness lets you enjoy them plain or with your favorite toppings.
What You’ll Need
- 1 1/2 cups gluten-free all-purpose flour blend (with xanthan gum included; if not, add 1/2 teaspoon xanthan gum)
- 2 tablespoons sugar (or maple sugar/coconut sugar)
- 2 teaspoons baking powder
- 1/4 teaspoon baking soda (important if using buttermilk or added acid)
- 1/2 teaspoon fine sea salt
- 1 1/4 to 1 1/2 cups milk (dairy or unsweetened almond/oat milk)
- 1 large egg (room temperature)
- 2 tablespoons melted butter (or neutral oil for dairy-free), plus more for the pan
- 1 teaspoon vanilla extract
- Optional for extra tenderness: 1 tablespoon lemon juice or apple cider vinegar (especially if using non-dairy milk)
Step-by-Step Instructions
- Preheat your pan or griddle. Set a nonstick skillet or griddle over medium heat so it’s evenly hot when the batter is ready.Aim for about 350°F on an electric griddle.
- Mix the dry ingredients. In a large bowl, whisk together the gluten-free flour, sugar, baking powder, baking soda, and salt until well combined. This helps distribute leavening evenly.
- Combine the wet ingredients. In a separate bowl or large measuring cup, whisk the milk, egg, melted butter, and vanilla. If using lemon juice or vinegar, add it to the milk and let it sit for 2–3 minutes.
- Bring it together gently. Pour the wet mixture into the dry.Stir with a spatula until just combined. Leave small lumps—overmixing leads to dense pancakes.
- Rest the batter. Let the batter sit for 5–10 minutes. This allows the gluten-free flour to hydrate and thickens the batter slightly for fluffier pancakes.
- Adjust consistency. If the batter looks too thick (doesn’t pour off a spoon), add a splash more milk. It should be pourable but not runny.
- Grease and test the pan. Lightly butter or oil the hot surface.Test with a small spoonful of batter—if it sizzles gently and the bottom browns in about 1–2 minutes, you’re set.
- Cook the pancakes. Pour 1/4 cup batter per pancake. Cook until bubbles form on top and the edges look set, about 2–3 minutes. Flip once and cook 1–2 minutes more, until golden and cooked through.
- Keep them warm. Transfer cooked pancakes to a 200°F oven on a wire rack set over a sheet pan while you finish the batch.
- Serve. Top with butter, warm maple syrup, fresh berries, or a dollop of yogurt.
How to Store
- Refrigerate: Cool completely, then store in an airtight container for up to 3 days.
- Freeze: Place in a single layer on a sheet pan to freeze, then stack with parchment and store in a freezer bag for up to 2 months.
- Reheat: Toast straight from the freezer, or warm in a 300°F oven for 8–10 minutes. A toaster or skillet keeps edges crisp.
- Make-ahead batter: Mix dry ingredients and wet ingredients separately the night before.Combine in the morning for best rise.
Why This is Good for You
These pancakes are designed to be gentle on the stomach while still satisfying. Using gluten-free flour makes them suitable for those with celiac disease or gluten sensitivity. The recipe uses modest sugar and can be paired with protein-rich toppings like Greek yogurt, nut butter, or eggs to balance your meal.
You can also choose dairy-free milk and oil to fit your needs without sacrificing taste.
Common Mistakes to Avoid
- Skipping xanthan gum: If your blend doesn’t include it, your pancakes may fall apart or turn crumbly. Add 1/2 teaspoon to help bind.
- Overmixing the batter: Stir only until combined. Overmixing knocks out air and makes pancakes tough.
- Cooking on heat that’s too high: You’ll get burnt outsides and raw centers.Medium heat is your friend.
- Not resting the batter: A brief rest reduces grittiness and improves rise.
- Flipping too early (or too often): Wait for visible bubbles and set edges. Flip once for best texture.
- Using only baking powder with non-dairy milk: Add a little acid and baking soda to boost lift and tenderness.
Variations You Can Try
- Blueberry Lemon: Fold in 1 cup fresh or frozen blueberries and 1 teaspoon lemon zest.
- Banana Nut: Add 1 mashed ripe banana and 1/2 cup chopped walnuts; reduce milk slightly if batter thins too much.
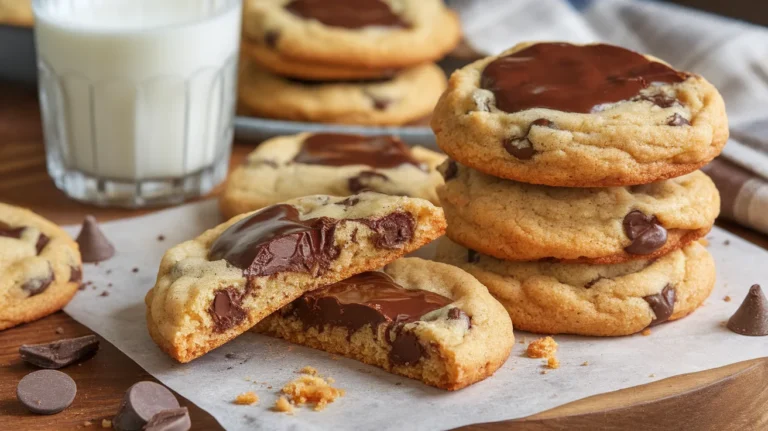
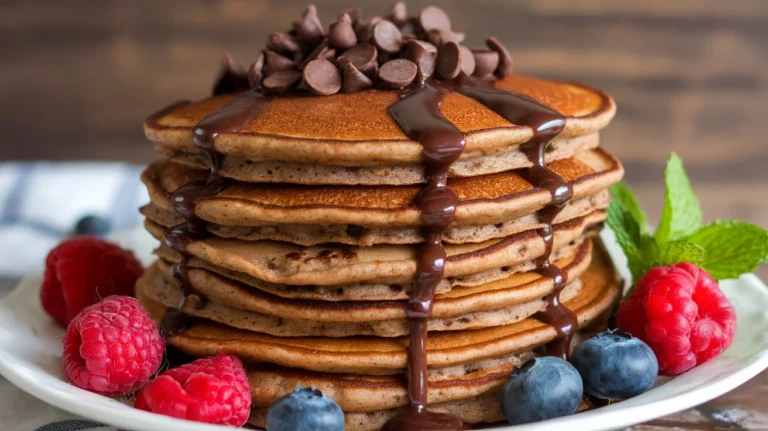
- Chocolate Chip: Stir in 1/2 cup mini chocolate chips and a pinch of cinnamon.
- Protein Boost: Replace 1/4 cup flour with your favorite gluten-free protein powder and add a splash more milk if needed.
- Dairy-Free: Use plant milk and oil; add 1 tablespoon lemon juice or vinegar to mimic buttermilk’s tenderness.
- Whole-Grain Feel: Swap 1/3 of the flour for certified gluten-free oat flour for a heartier texture.
FAQ
Which gluten-free flour works best for pancakes?
A high-quality gluten-free all-purpose blend that includes xanthan gum gives the most reliable results. Look for a 1:1 baking blend with rice flour, starches, and a binder.
If your blend lacks xanthan gum, add 1/2 teaspoon.
Can I make these without eggs?
Yes. Use a flax egg (1 tablespoon ground flax mixed with 3 tablespoons warm water, rested 5 minutes) or a commercial egg replacer. Add an extra tablespoon of oil for moisture, and don’t skip the batter rest.
How do I keep pancakes from getting gummy?
Measure flour accurately, don’t overmix, and let the batter rest.
Cook over medium heat and ensure they’re fully set before flipping. If they’re still gummy, reduce the milk slightly or cook a bit longer at a slightly lower heat.
Why are my pancakes dense and flat?
Check that your baking powder is fresh, avoid overmixing, and make sure the pan isn’t too hot. Adding a bit of acid (lemon juice or vinegar) with baking soda can increase lift, especially with non-dairy milk.
Can I make the batter ahead of time?
It’s best to mix dry and wet separately and combine right before cooking.
Fully mixed batter can lose some lift if it sits too long, though a 30-minute rest is beneficial for texture.
What’s the best way to know when to flip?
Watch for bubbles forming across the surface and edges that look set and slightly dry. Slide a spatula under—if it lifts easily and the bottom is golden, flip once and finish cooking.
How do I prevent sticking without a nonstick pan?
Preheat your pan well, then lightly grease with butter or oil before each batch. A well-seasoned cast-iron skillet also works great.
Wrapping Up
With the right flour blend, a short batter rest, and steady medium heat, gluten-free pancakes can be just as fluffy and satisfying as the classic version.
Keep these tips handy, tweak the milk for the perfect pour, and try a variation or two to make them your own. A warm stack is only a few minutes away—pass the syrup and enjoy.
Printable Recipe Card
Want just the essential recipe details without scrolling through the article? Get our printable recipe card with just the ingredients and instructions.