How to Make Oreo Lava Cake in Microwave – Rich, Gooey, and Ready in Minutes
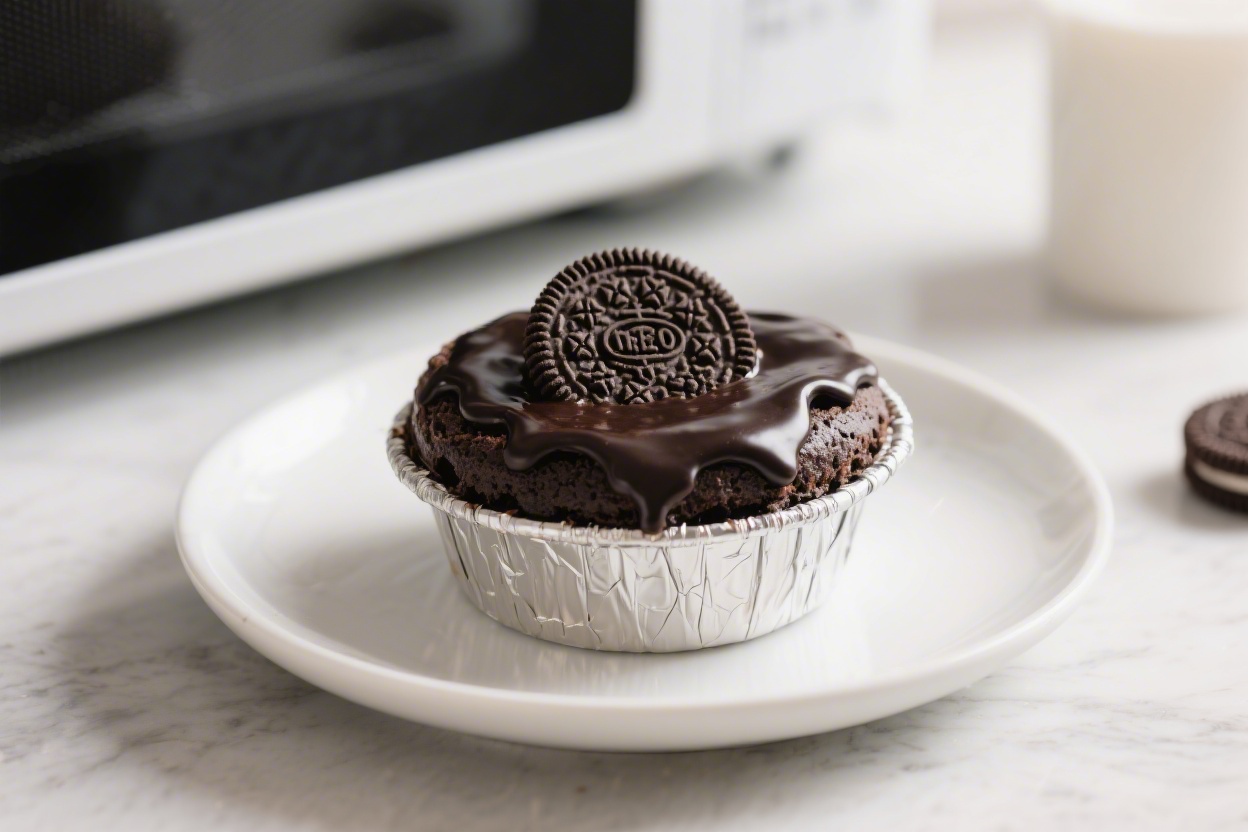
If you’re craving dessert but don’t want to turn on the oven, this Oreo lava cake is your answer. It’s warm, melty, and gives you that dramatic chocolate center without any fuss. You can make it with pantry staples and a microwave-safe mug or ramekin.
The texture lands somewhere between a brownie and a molten cake, and it’s unbelievably satisfying. Whether it’s a late-night treat or a quick dessert for two, this one delivers.

How to Make Oreo Lava Cake in Microwave – Rich, Gooey, and Ready in Minutes
Ingredients
- Oreo cookies (8–10 regular Oreos; Double Stuf works too)
- Milk (about 1/4 cup; dairy or a creamy non-dairy like oat or whole-fat almond)
- Butter (1 tablespoon; salted or unsalted)
- Cocoa powder (1 tablespoon; natural or Dutch-process)
- Sugar (1–2 teaspoons; adjust to taste)
- Baking powder (1/4 teaspoon)
- Salt (a small pinch)
- Chocolate for the lava center (2–3 squares of dark or milk chocolate, or 1 tablespoon chocolate chips)
- Vanilla extract (1/4 teaspoon; optional)
- Optional toppings: a scoop of ice cream, whipped cream, berries, or a dusting of powdered sugar
Instructions
- Prep your mug or ramekin. Use a microwave-safe mug (10–12 oz) or a 6–8 oz ramekin. Lightly grease the inside with butter or a neutral oil so the cake slides out easily.
- Crush the Oreos. Add the Oreos to a zip-top bag and crush with a rolling pin until they’re fine crumbs with no big chunks. Or place them in the mug and crush with the back of a spoon. You want a sandy texture.
- Make the batter. In the mug, stir in milk until the crumbs turn into a thick, pourable batter. Add melted butter, cocoa powder, sugar, baking powder, salt, and vanilla. Mix until smooth. The batter should be slightly thicker than pancake batter. If it’s too thick, add a splash more milk.
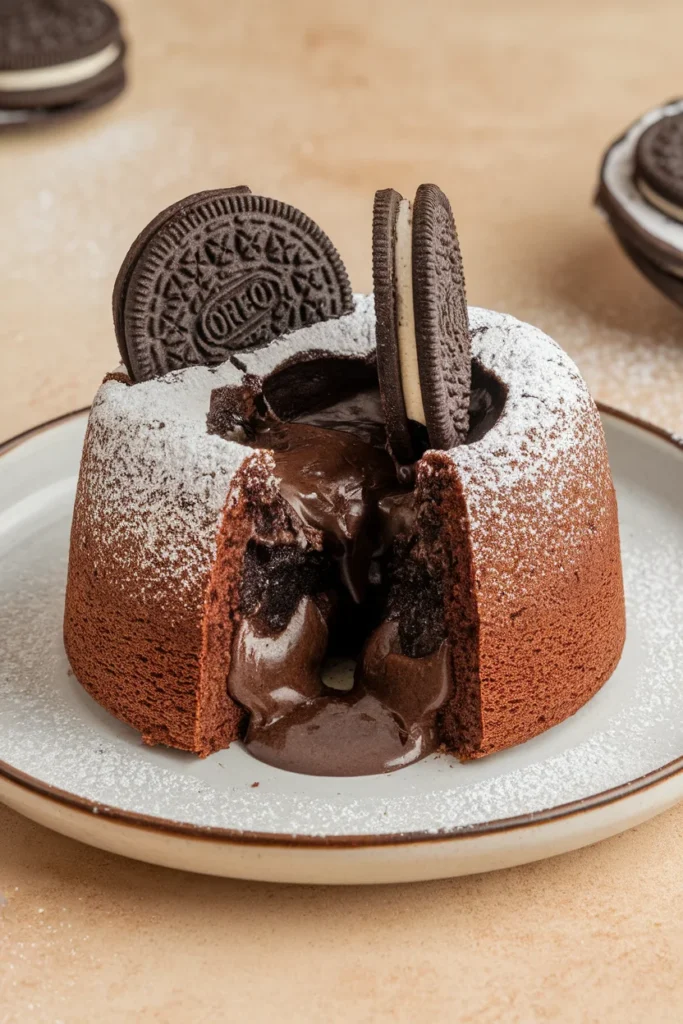
- Create the lava center. Press a well into the middle of the batter with a spoon. Add the chocolate squares or chips to the well, then spoon a little batter over the top to cover it completely. This is what gives you that molten center.
- Microwave in short bursts. Microwave on high for 45–60 seconds to start. The cake should rise and set at the edges but still look slightly glossy on top. If needed, add 10–15 second bursts until the edges are set but the center is soft. Most microwaves land between 60–90 seconds in total.
- Rest before serving. Let it sit for 30–45 seconds. The carryover heat finishes the structure without overcooking the lava center.
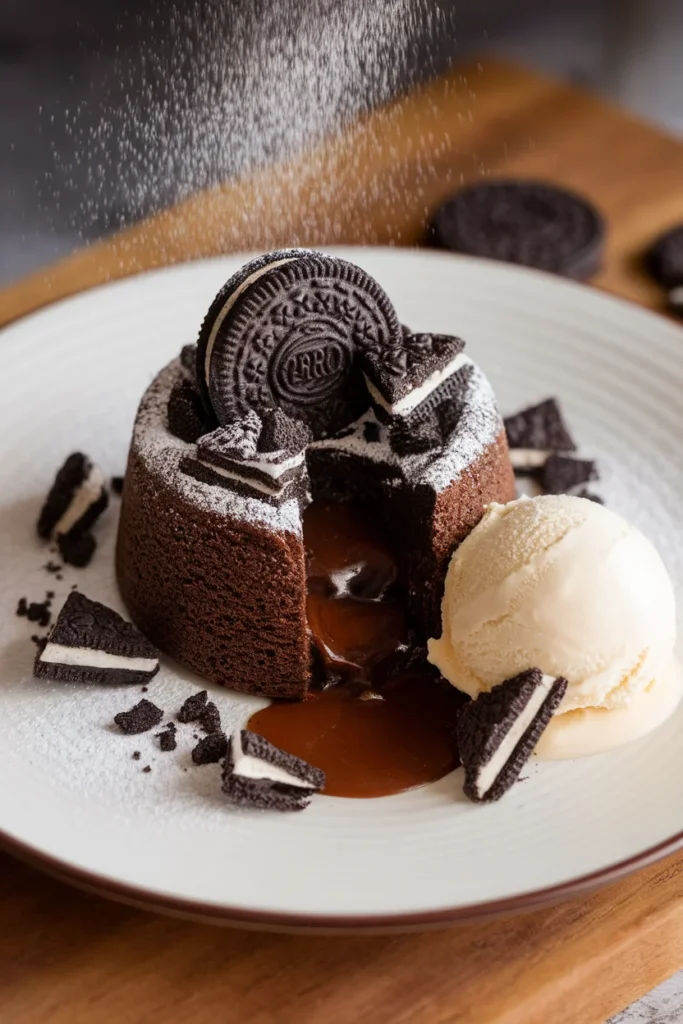
- Top and enjoy. Add ice cream, whipped cream, or a dusting of powdered sugar. Eat warm with a spoon. For a plated look, carefully loosen the edges with a knife and invert onto a small plate.
What Makes This Special
This recipe takes the classic Oreo-and-milk mug cake idea and levels it up with a real lava-style center. You don’t need a boxed mix, a blender, or fancy equipment—just a handful of ingredients and a microwave.
The gooey middle comes from a simple trick, so you get that restaurant-style molten effect in minutes. It’s also easy to scale and customize, so you can make it your way with minimal effort.
Shopping List
- Oreo cookies (8–10 regular Oreos; Double Stuf works too)
- Milk (about 1/4 cup; dairy or a creamy non-dairy like oat or whole-fat almond)
- Butter (1 tablespoon; salted or unsalted)
- Cocoa powder (1 tablespoon; natural or Dutch-process)
- Sugar (1–2 teaspoons; adjust to taste)
- Baking powder (1/4 teaspoon)
- Salt (a small pinch)
- Chocolate for the lava center (2–3 squares of dark or milk chocolate, or 1 tablespoon chocolate chips)
- Vanilla extract (1/4 teaspoon; optional)
- Optional toppings: a scoop of ice cream, whipped cream, berries, or a dusting of powdered sugar
How to Make It
- Prep your mug or ramekin. Use a microwave-safe mug (10–12 oz) or a 6–8 oz ramekin. Lightly grease the inside with butter or a neutral oil so the cake slides out easily.
- Crush the Oreos. Add the Oreos to a zip-top bag and crush with a rolling pin until they’re fine crumbs with no big chunks.
Or place them in the mug and crush with the back of a spoon. You want a sandy texture.
- Make the batter. In the mug, stir in milk until the crumbs turn into a thick, pourable batter. Add melted butter, cocoa powder, sugar, baking powder, salt, and vanilla.
Mix until smooth. The batter should be slightly thicker than pancake batter. If it’s too thick, add a splash more milk.
- Create the lava center. Press a well into the middle of the batter with a spoon.
Add the chocolate squares or chips to the well, then spoon a little batter over the top to cover it completely. This is what gives you that molten center.
- Microwave in short bursts. Microwave on high for 45–60 seconds to start. The cake should rise and set at the edges but still look slightly glossy on top.
If needed, add 10–15 second bursts until the edges are set but the center is soft. Most microwaves land between 60–90 seconds in total.
- Rest before serving. Let it sit for 30–45 seconds. The carryover heat finishes the structure without overcooking the lava center.
- Top and enjoy. Add ice cream, whipped cream, or a dusting of powdered sugar.
Eat warm with a spoon. For a plated look, carefully loosen the edges with a knife and invert onto a small plate.
Storage Instructions
This dessert is best enjoyed fresh because the lava center firms up as it cools. If you have leftovers, cover and refrigerate for up to 24 hours.
Reheat in the microwave for 10–15 seconds to bring back some softness, though it won’t be as molten. You can also prep the dry mix in advance—crushed Oreos, cocoa, sugar, baking powder, and a pinch of salt—and store it in a small jar for up to a week. When ready, add milk, butter, and vanilla, then cook as directed.
Benefits of This Recipe
- Fast and fuss-free: From start to finish, you’re eating cake in under 10 minutes.
- No oven required: Perfect for dorms, offices, or hot days.
- Minimal cleanup: Everything mixes and cooks in one mug.
- Customizable: Works with different chocolates, milks, and add-ins.
- Small-batch friendly: Great for one or two servings without leftovers.
What Not to Do
- Don’t over-microwave. A few extra seconds can turn the lava into a fully set cake.
Stop when the top is just barely set and the center jiggles slightly.
- Don’t skip the chocolate core. Relying solely on undercooked batter won’t give the same molten effect—add solid chocolate for a true lava center.
- Don’t use a tiny mug. The batter needs room to rise. A small mug can cause overflow and uneven cooking.
- Don’t forget the pinch of salt. It sharpens the chocolate flavor and balances the sweetness.
- Don’t expect the same timing in every microwave. Power varies; always start low and add short bursts.
Recipe Variations
- Peanut Butter Lava: Add 1 teaspoon peanut butter to the chocolate core for a salty-sweet surprise.
- Double Chocolate: Stir 1 tablespoon chocolate chips into the batter plus the lava center for extra richness.
- Mint Chocolate: Use mint Oreos and a drop of peppermint extract for a cool, bakery-style twist.
- Salted Caramel: Swap the chocolate core for a soft caramel candy and finish with a light sprinkle of flaky salt.
- Cookies and Cream Deluxe: Fold in a few extra chopped Oreos for more crunch throughout.
- Dairy-Free: Use vegan butter or neutral oil, and a creamy non-dairy milk. Choose dairy-free chocolate for the center.
- Gluten-Aware: Use gluten-free chocolate sandwich cookies in place of Oreos if needed.
FAQ
Can I make this without butter?
Yes.
Swap the butter for 1 tablespoon neutral oil or even 1 tablespoon peanut butter for a nutty twist. Butter adds flavor and tenderness, but the texture is still great with oil.
Why is my cake rubbery?
It was likely overcooked. Microwave in short bursts and stop when the top is just set.
Also, avoid overmixing; stir just until smooth to keep the crumb tender.
Do I have to add cocoa powder?
No, but it deepens the chocolate flavor and offsets sweetness. If you skip it, reduce the sugar slightly or the cake may taste overly sweet.
How do I know when it’s done?
The edges should look set and slightly pulled from the sides, while the center should look shiny and soft. When you gently shake the mug, it should have a slight jiggle.
Can I make two at once?
You can, but they may cook unevenly.
If your microwave allows, microwave them side by side and add 10–20 seconds to the total time, rotating the mugs halfway through. Otherwise, cook them one at a time for best results.
What size mug should I use?
A 10–12 oz microwave-safe mug works best. Anything smaller risks overflow, and very wide mugs can lead to overcooking the edges before the center melts.
Can I bake this in the oven?
Yes.
Transfer the batter to a greased ramekin and bake at 350°F (175°C) for about 10–12 minutes, until the edges are set and the center still looks soft. Check early to avoid overbaking.
What’s the best chocolate for the lava center?
Use a good-quality bar or chips with at least 45–60% cocoa if you like it rich. Milk chocolate works too and gives a sweeter, creamier center.
Avoid very tiny shavings; they melt too fast and disappear.
Can I reduce the sugar?
Yes. The Oreos are already sweet, so feel free to cut the added sugar to 1 teaspoon or skip it entirely if you prefer. Taste the batter before cooking and adjust as needed.
How can I make it extra gooey?
Add a little more chocolate to the center, and slightly undercook by 5–10 seconds.
A scoop of ice cream on top also creates that hot-cold, saucy effect.
Wrapping Up
This Oreo lava cake brings bakery-level indulgence to your kitchen in minutes. With simple ingredients and a smart chocolate core, you get a molten center without any hassle. Keep the basic method handy, then riff with flavors and toppings whenever the mood strikes.
It’s quick, cozy, and wildly satisfying—exactly what a weeknight dessert should be.
Printable Recipe Card
Want just the essential recipe details without scrolling through the article? Get our printable recipe card with just the ingredients and instructions.